

Automation tool is very helpful to make your ticket automatically assign to your agent or send automatic reply to your customer and much more. here is example to set a automation for your helpdesk site
Step 01: Go to admin panel > Support Ticket > Automation
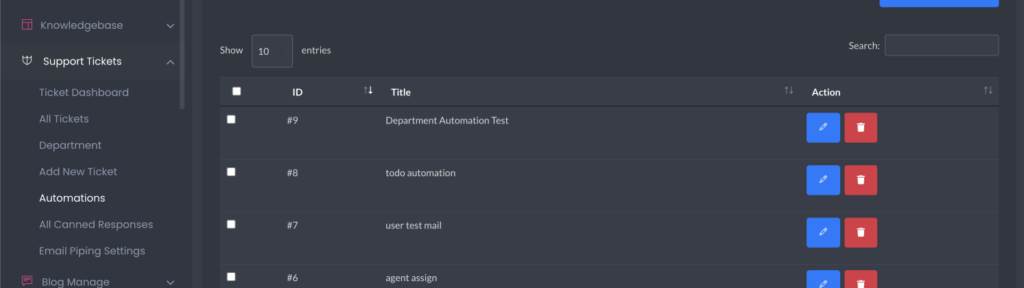
Step 02: click on Create new Automation

Step 03: give a title for the automation so that you can easily recognise it later.
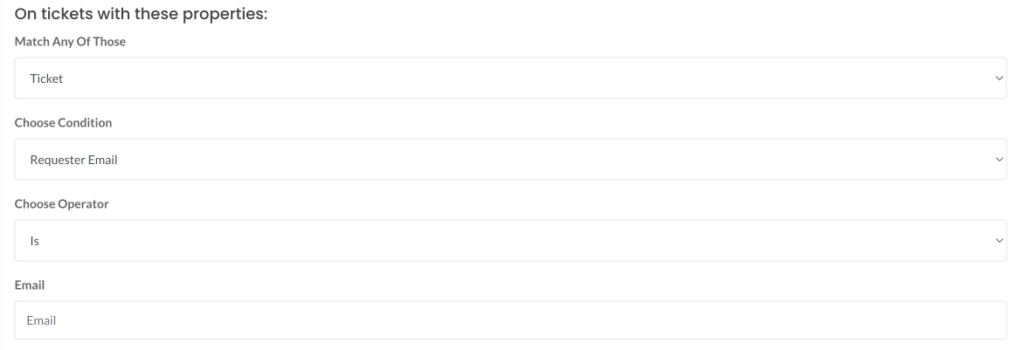
Step 04: set condition for automation
- you can set condition base on user email,
- set condition based on ticket subject
- set condition based on ticket status
- set condition based on ticket priority
- set condition based on user selected ticket department
- set condition when a ticket open or created
- set condition when a ticket is closed.
Step 05: setup action based on your condition
- action can be set ticket priority based on your condition
- action can be set ticket status as per your condition
- you can set ticket department as per your condition
- can add todo based on the condition
- can assign the ticket to any support agent
- you can send email to ticket requester with pre-build dynamic variable. which allow you to use ticket content.
- you can set action to send email to any specific agent.
- you can set action to delete the ticket
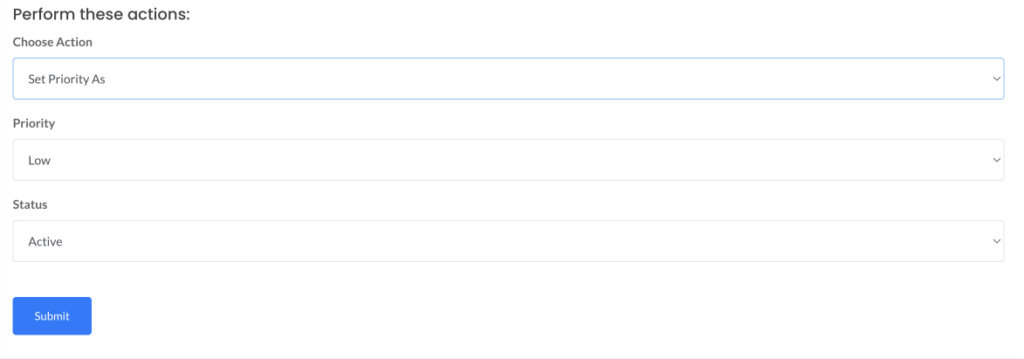
make sure you make the status active to enable this automation.