

to configure cron job login to your OVH account go to your the server page, then click on more button and then click on cron button.
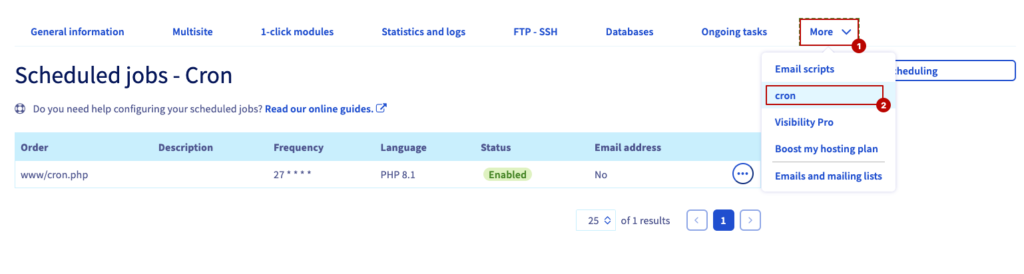
now click on Add a scheduling button to create a new cron job. follow the screenshots below
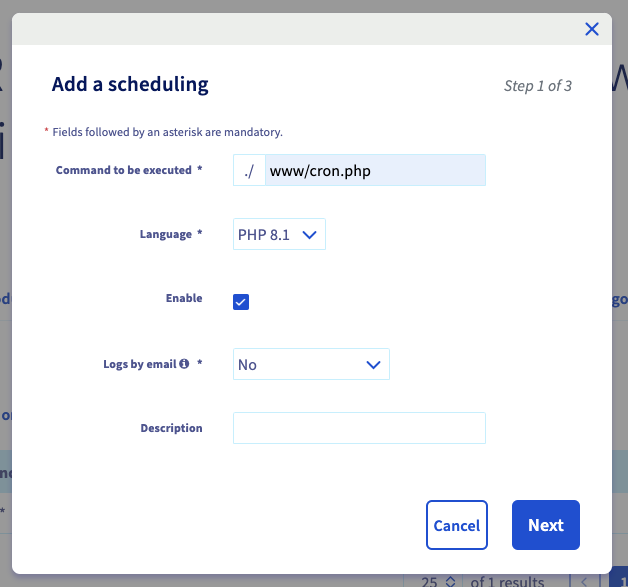
Step 01: set file as this screenshot is showing, set php version to 8.1, check the enable box then click on next.
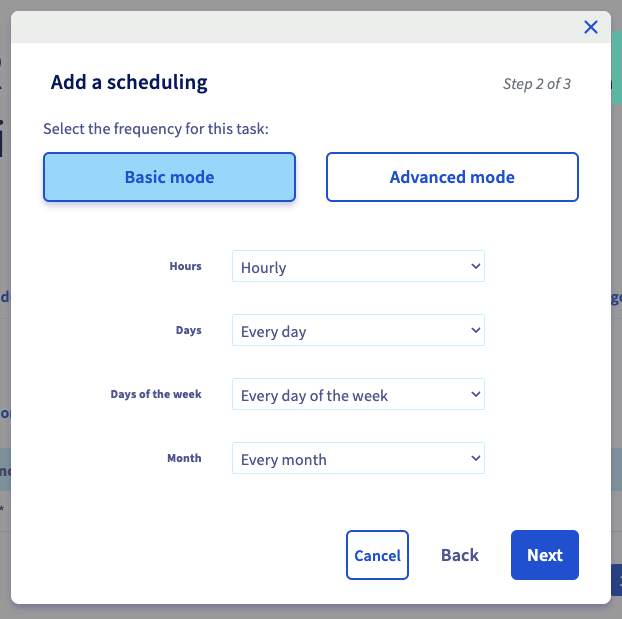
Step 02: click on basic mode , set hours , days, days of the week, month
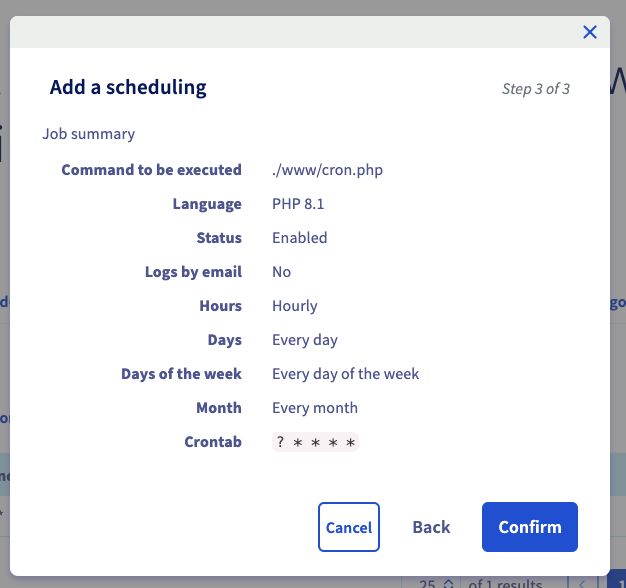
Step 03: click on confirm button
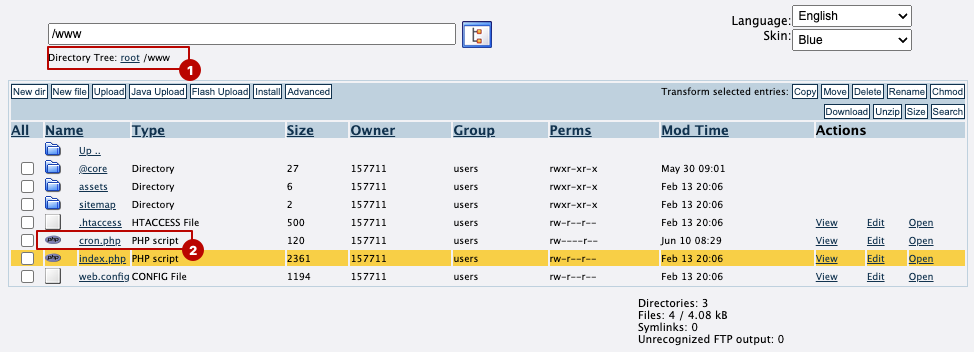
now create a file name cron.php in www folder.
add below content into the file
<?php

$_SERVER['argv'] = [
    'artisan',
    'schedule:run',
];

// On lance artisan
require __DIR__.'/@core/artisan';
that’s all to configure cron job in OVHCloud server..