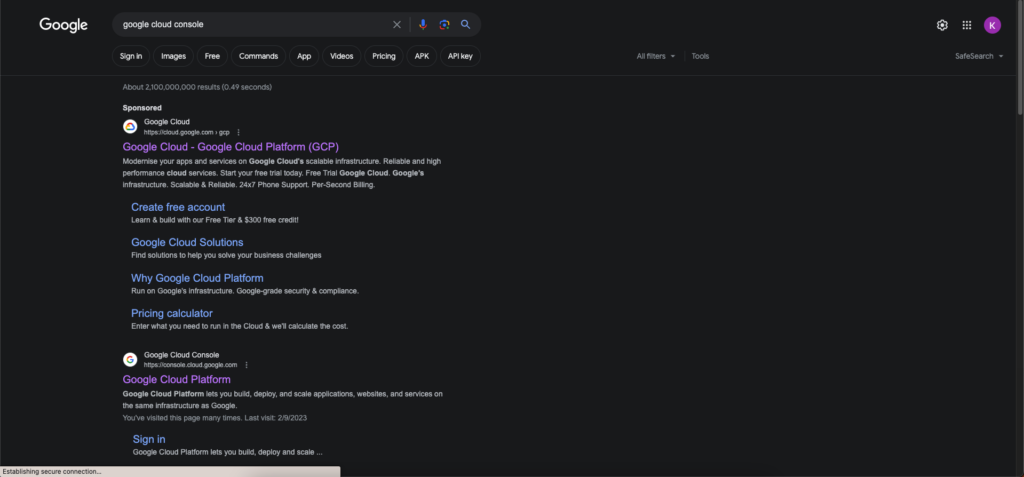
- Search for “google cloud console”
 Screenshot
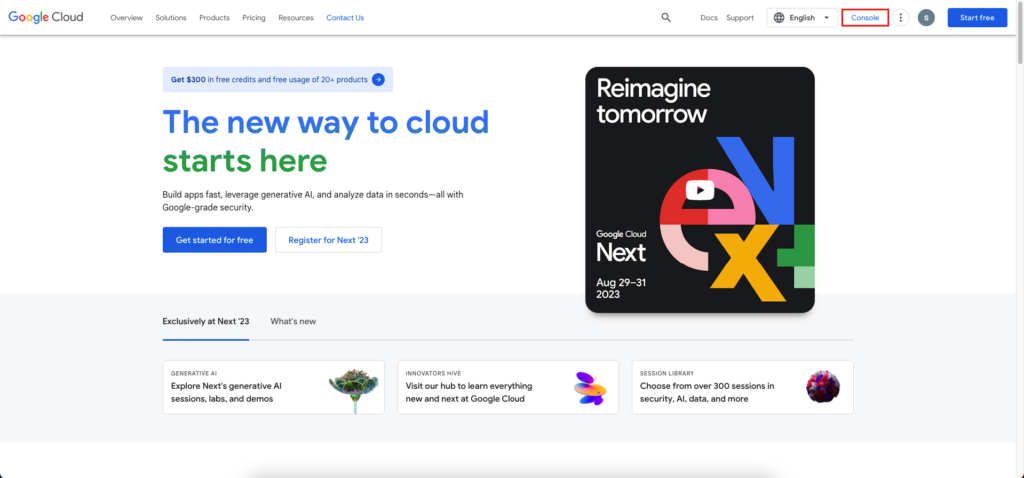
- Click the first result03. Login to your account if needed04. Click on the “Console” button on the top-right corner
 Screenshot
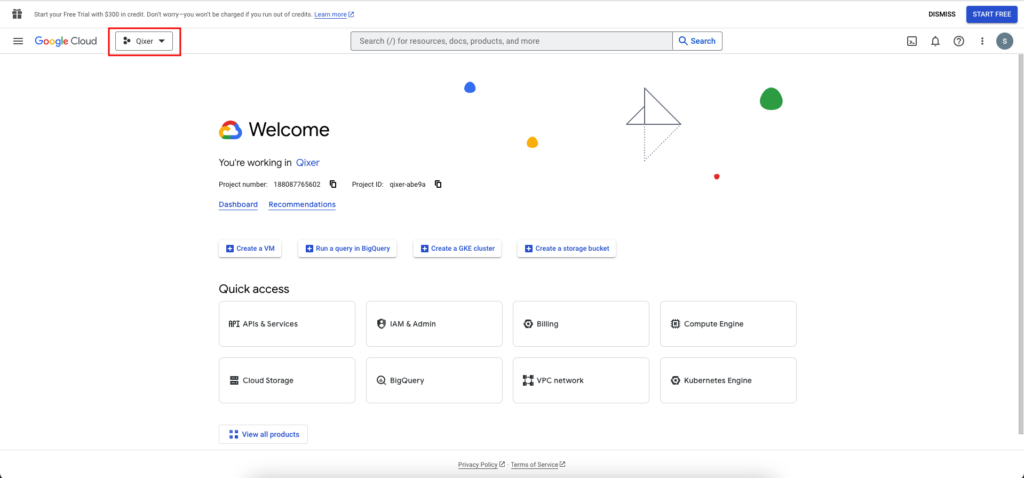
- Select your project from the top-left corner dropdown
 Screenshot
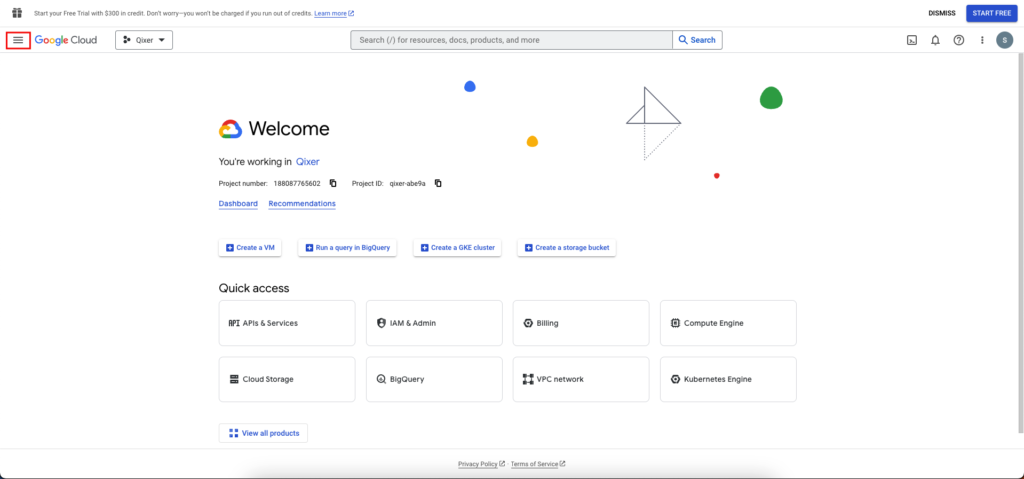
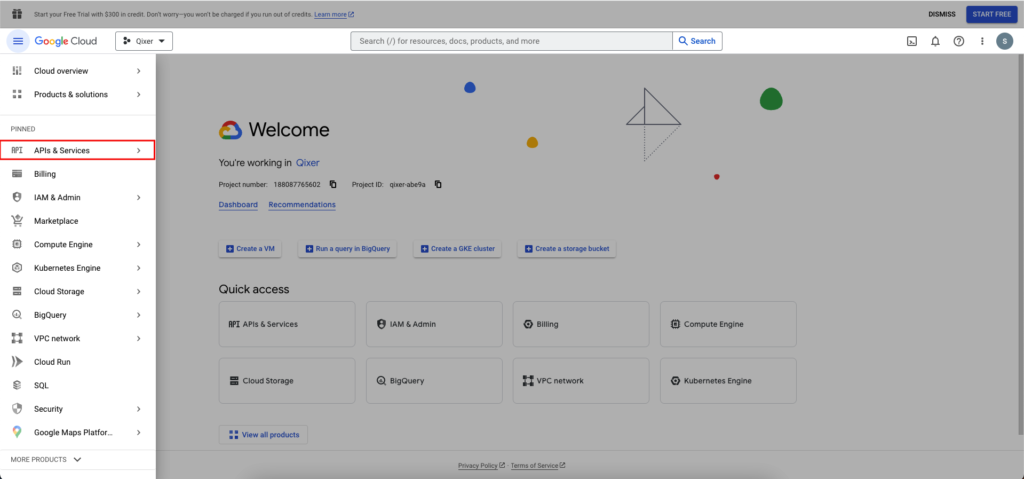
- Click the option icon and at the top-left corner
 Screenshot
- Click the “APIs and services” option
 Screenshot
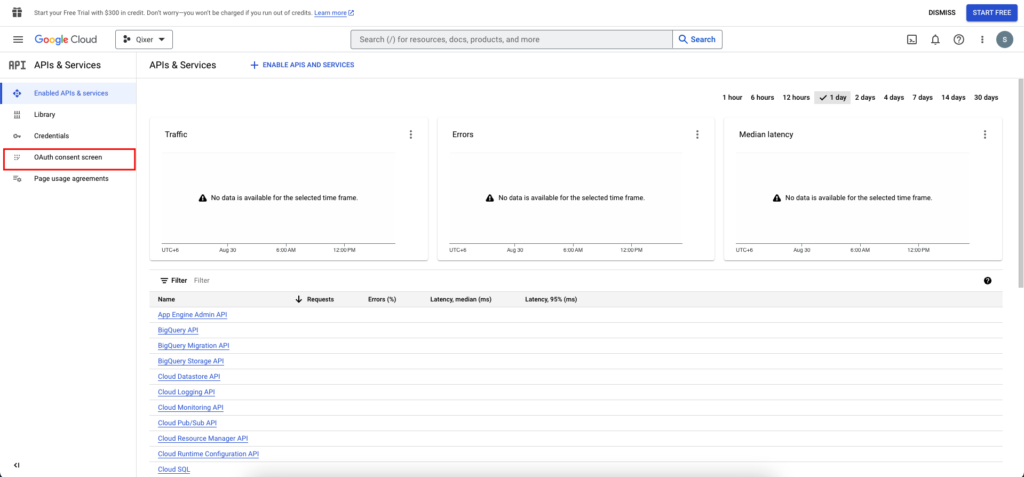
- Click on the “OAuth consent screen” option from the left panel
 Screenshot
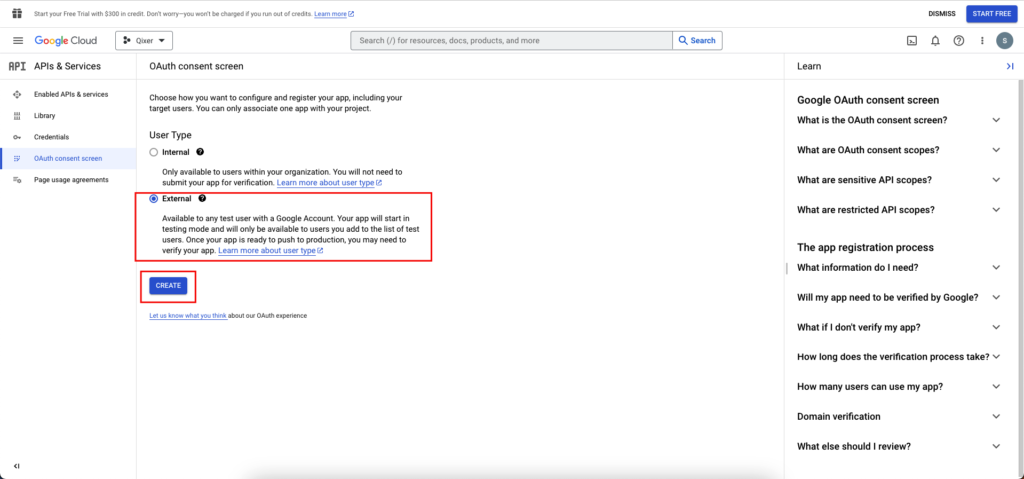
- Chose “External” and click “Create”
 Screenshot
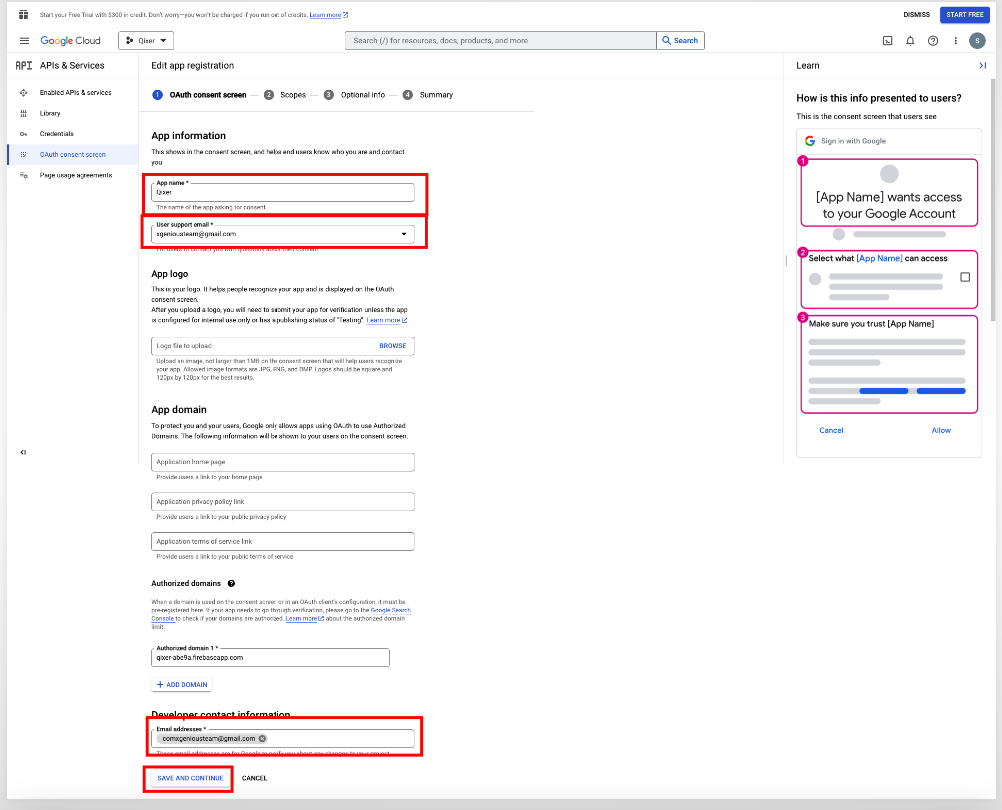
- Provide the necessary informations and click “SAVE AND CONTINUE” for the next two steps and click “BACK TO DASHBOARD” for the last step
 Screenshot
- Now click on “Credentials“
 Screenshot
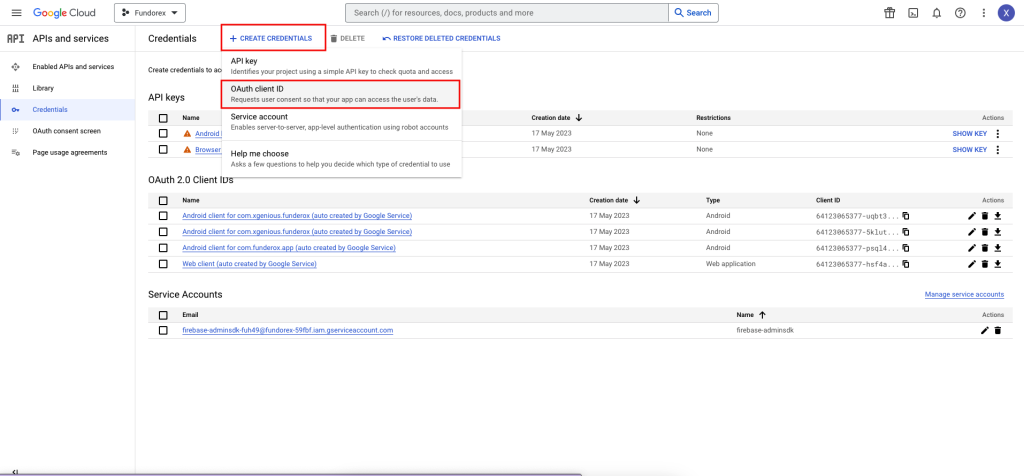
- Click on “CREATE CREDENTIALS” then “OAuth client ID“
 Screenshot
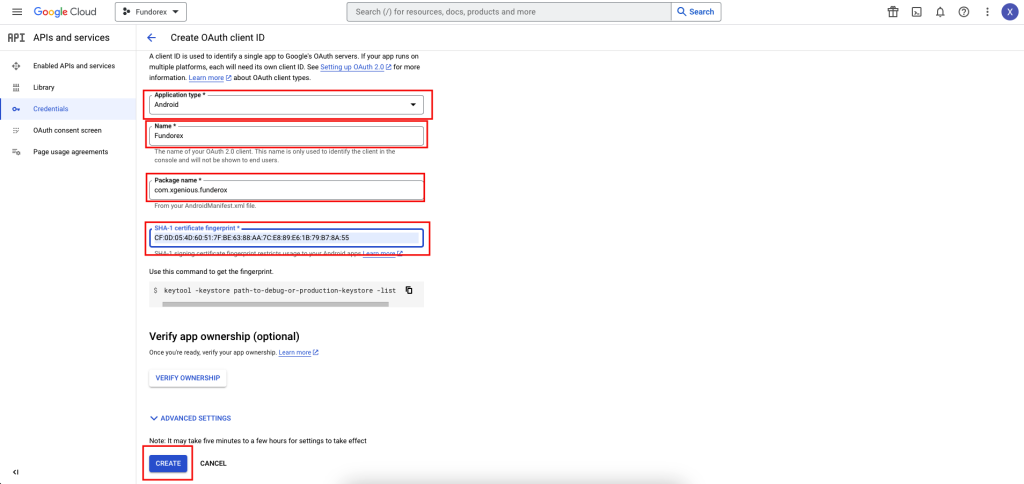
- Select Android from the dropdown option and provide the necessary info. Then click “CREATE“
 Screenshot
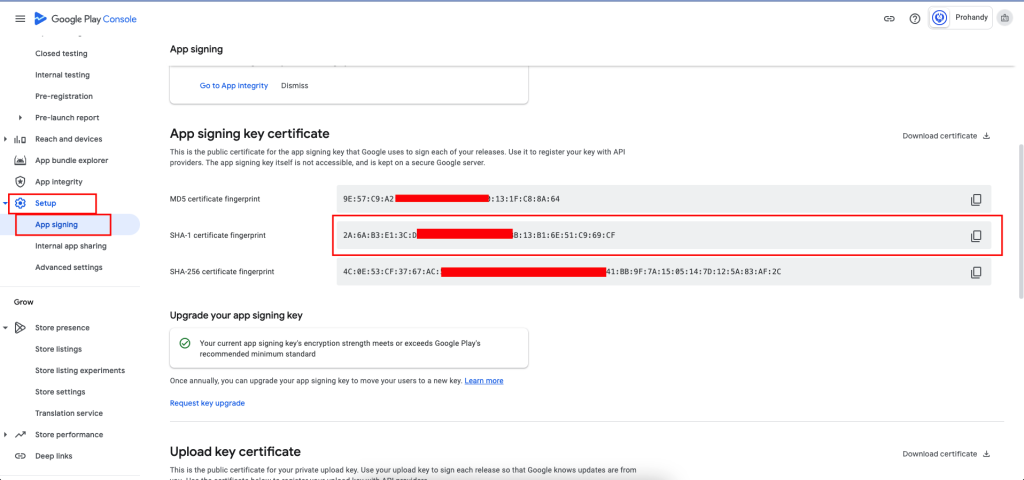
- Sometimes creating credentials with release SHA-1 will not able to Sign-In in app debug mode. So Try building the app and then try Google Sign-in. If you are using App signing key certificate from google play store then also create a OAuth using Sha-1 key from Play store.
 Screenshot
-
Next steps for IOS.
-
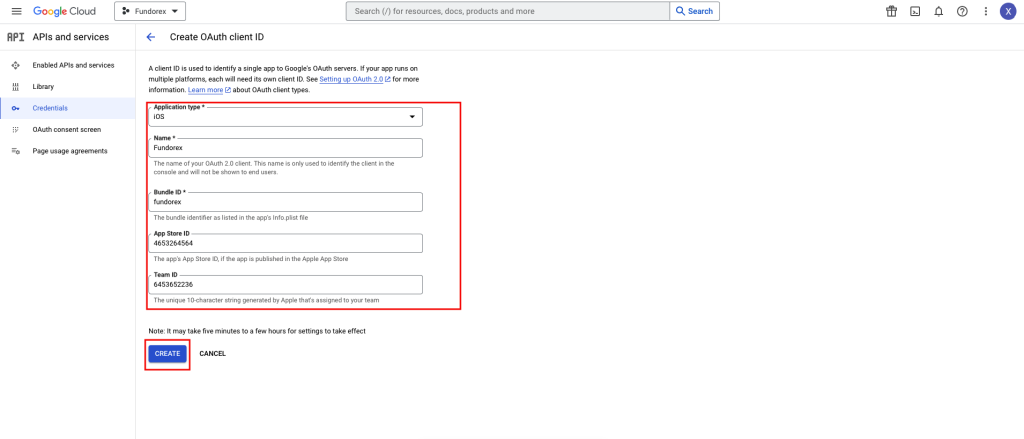
Create another “OAuth client ID“. This time Select “IOS” and provide the necessary info and Click “CREATE“.
 Screenshot
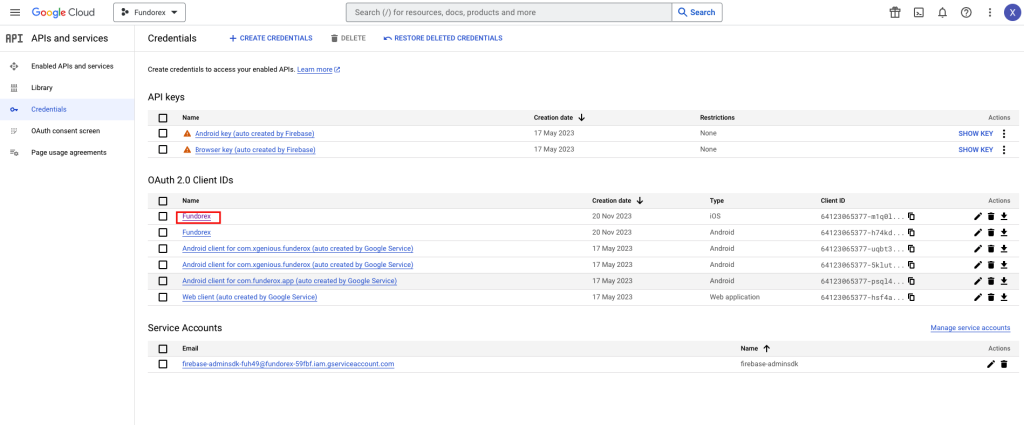
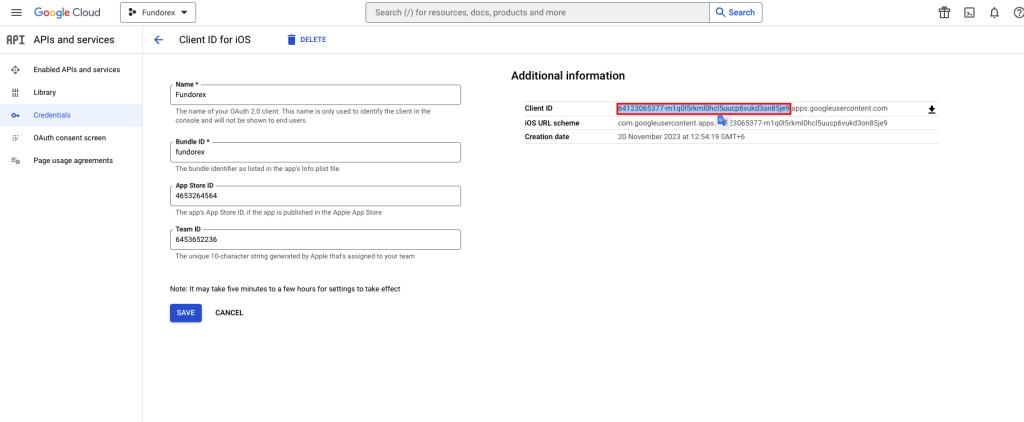
- In the Google cloud console, click on the OAuth credential you created for your ios app
 Screenshot
- Only copy this first section
 Screenshot
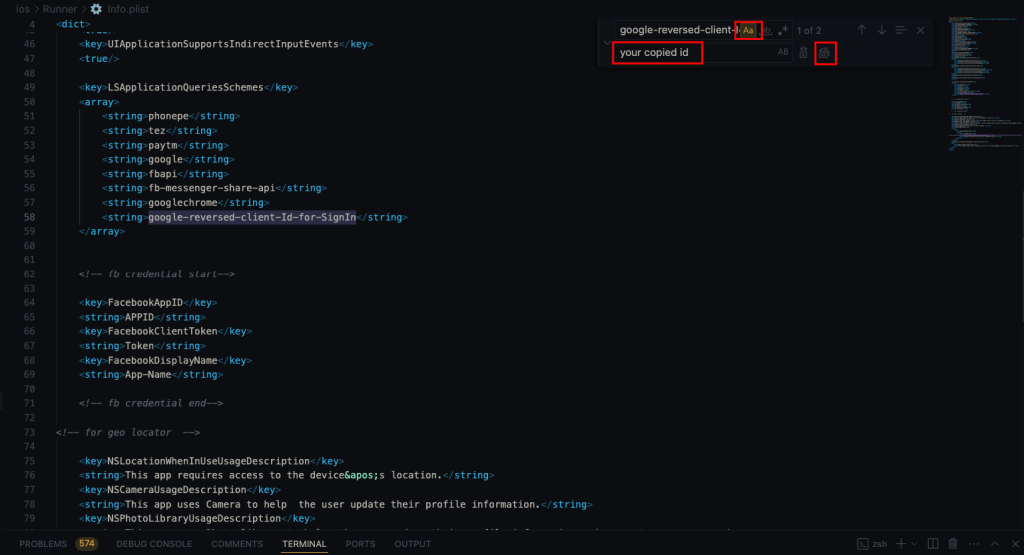
- Open project/ios/Runner/Info.plist in any editor, Search for “google-reversed-client-Id-for-SignIn” and replace with the copied id from step 18
 Screenshot
- Run your app and it should be working with Google Sign-In now.
Still stuck?
Our support team is ready to help you get set up.